Removal of fiber posts, and of posts in general, is the first step to take to access the canals of many teeth and retreat them. There’s a trick to remove every single kind of post.
In this post I want to show you a couple of tricks to remove a fiber post, since at the beginning of my career they were my bogeyman, as well as retreating Thermafil.
Well, let me say this…In dentistry there’s a lot of clichés…Thermafil, for example: at University they used to tell me that retreating them was a pain in the ass. But when you happen to retreat teeth with Thermafil, you immediately realize it’s something that just a person who’s never retreated any could fear. Or rather, after treating many of them, you’ll notice that you may have a hard time with a carrier in tight and curved root canals. But learning methodologies to facilitate the removal doesn’t take long.
The same goes for silver cones…When I came across one for the first time, I scheduled the procedure for one hour in my calendar and I remember removing it in 5 seconds using tweezers… ?
Ditto for fiber posts.
If you want to remove a fiber post quickly, you can try and bet on dentists’ little ability to get high adhesion values in post space. Therefore, you can remove the composite around the post until the bottom of the root canals, take universal plier, pull and…voilà! A huge number of posts come off in 5 seconds, along with the composite cement.
In case the post unravels or rips with this method, though, you’ll have to use the second method for fiber post removal, in which you wear them away with thin burs or with an ultrasonic tip, according to how deeply they are placed.
This is also the method I’ve used the most, since I have my microscope.
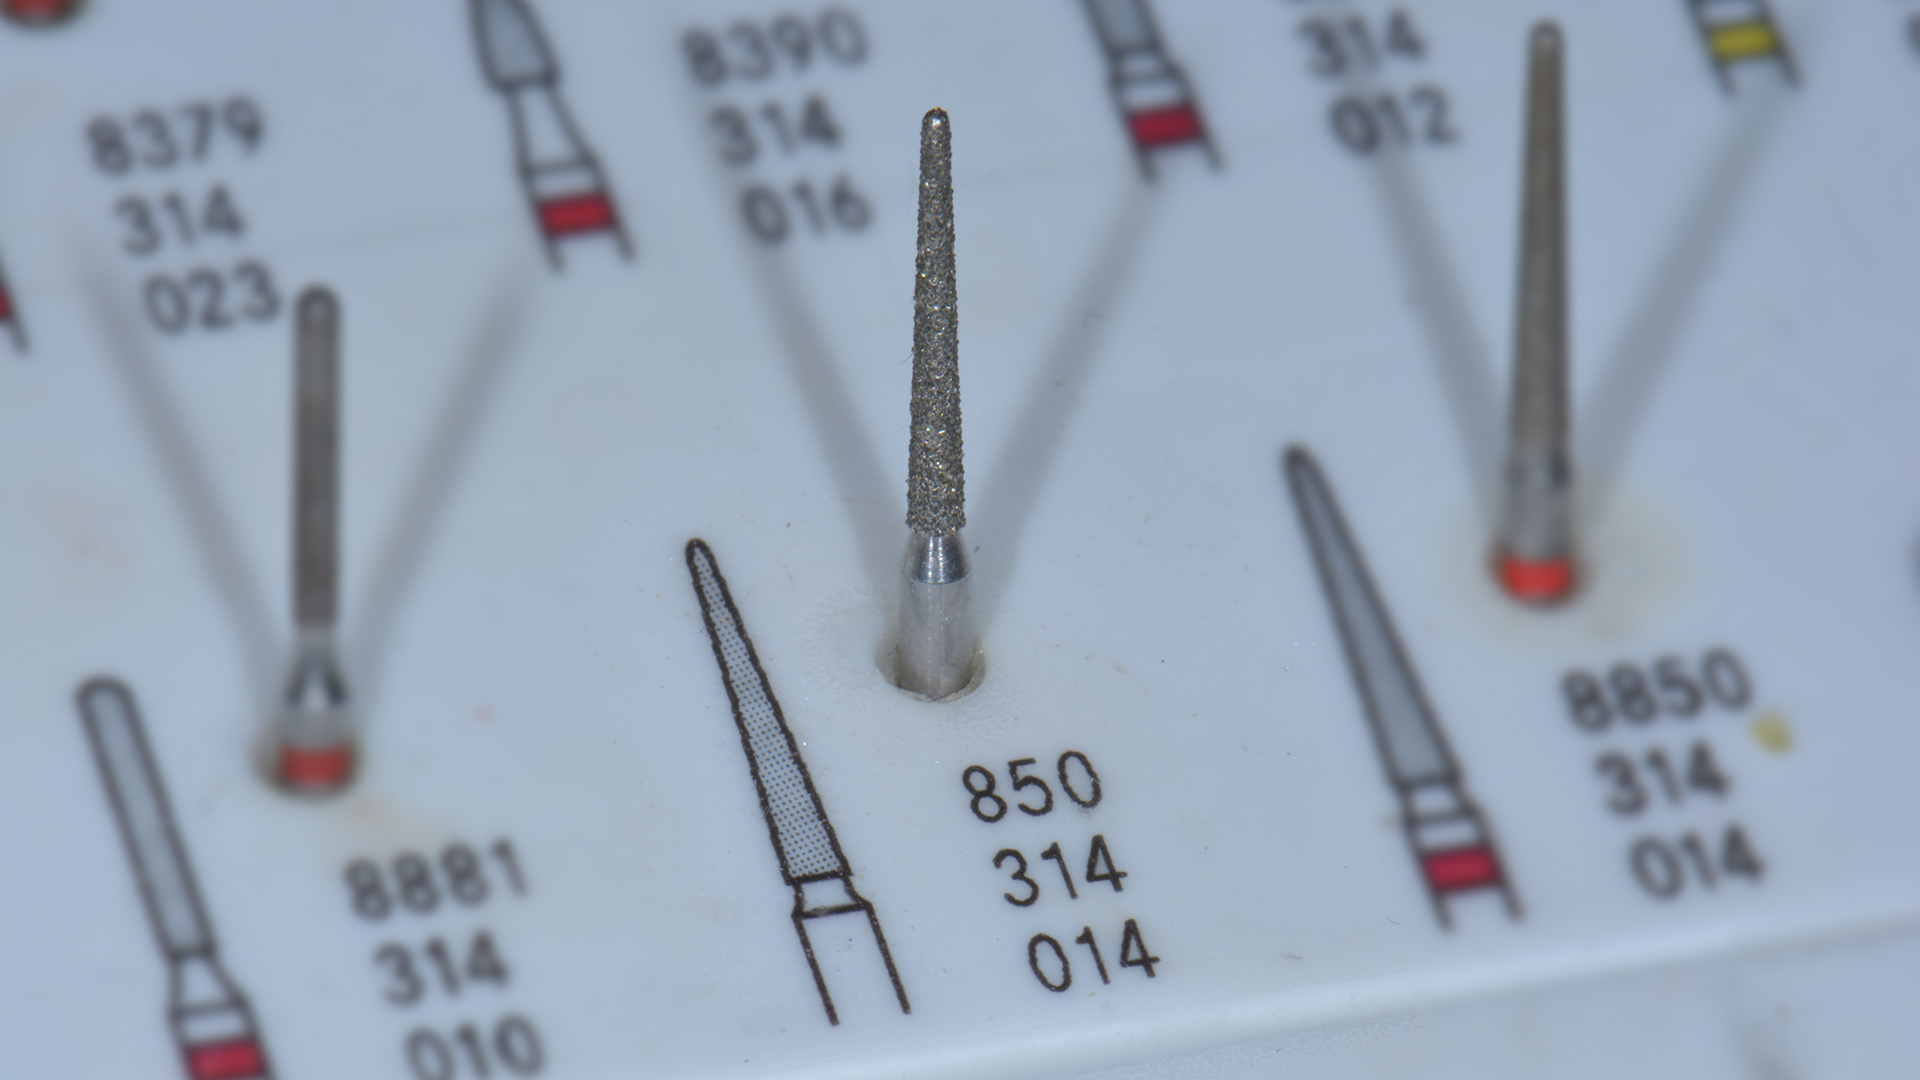
If you see that the post is in the coronal third of the root in the preliminary X-ray, you can wear it away with a very thin diamond bur with a head of 0.8-1 mm diameter, like this one from Komet
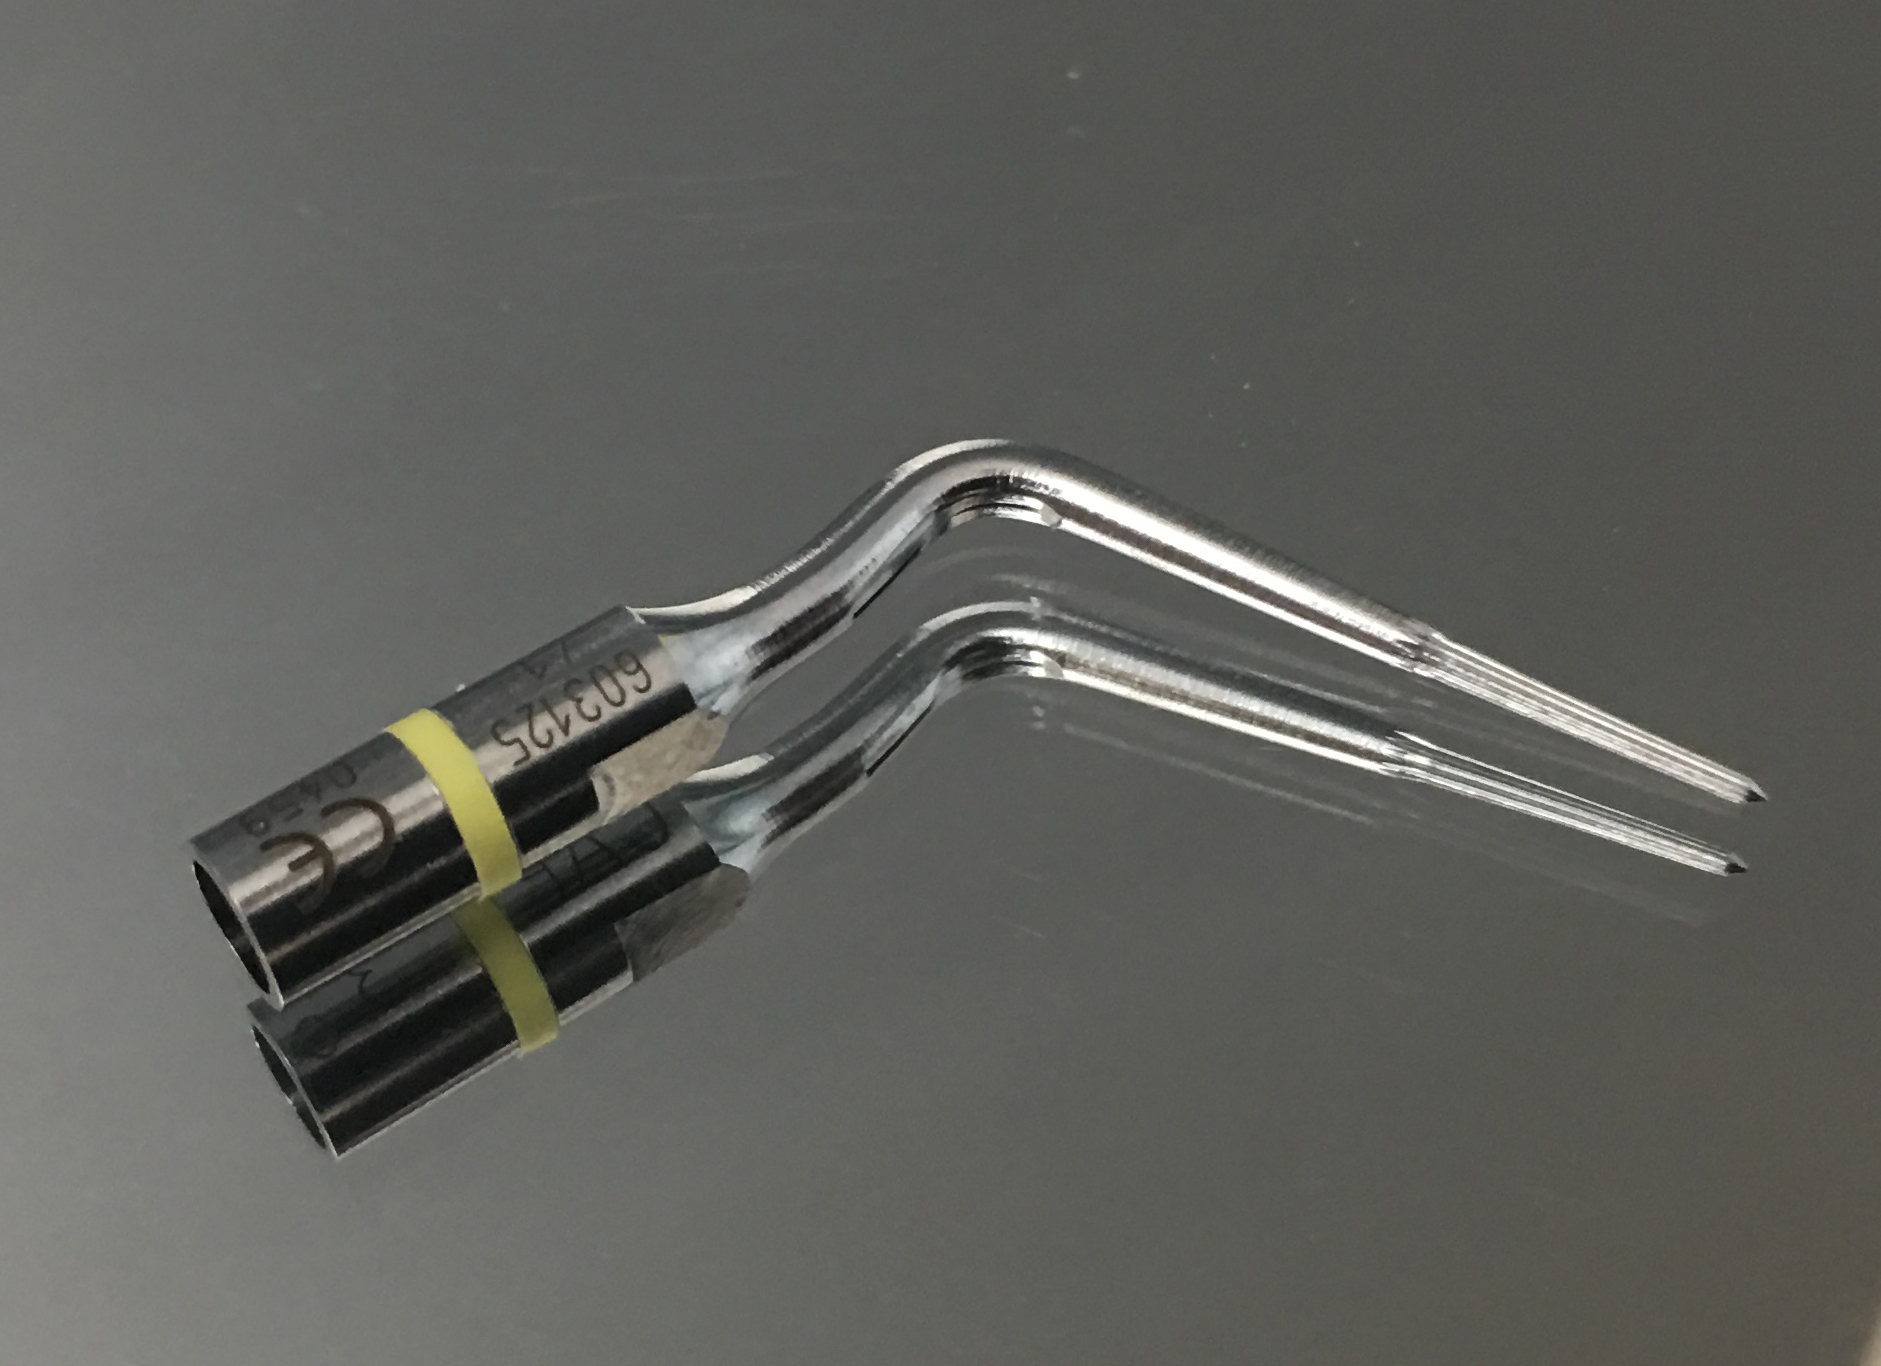
If the post goes deeper, then you’ll have to resort to ultrasound, using a Start X 3 kind of tip, making a perforation, like this one.
You’ve got to use this tip shifting between dry sessions and “wet” sessions in which you clean the field with water, because a fiber post (be it in quartz, glass or carbon) releases a black dust that darkens all the tooth inside, when heated. So, it is essential to wash the field with sodium hypoclorite or EDTA, and sometimes use the ultrasonic tip with water, in order to get to see what you are doing.
When you use the ultrasonic tip dry, you mustn’t use it as if you were making a metal post vibrate, but you’ve got to push hard at the center and perform circular moves, as if you were putting an umbrella in the sand on the beach, to be clear ⛱
You should feel the tip sink slowly…every so often, make sure to clean the post surface gently, letting the tip swing. Then wash everything as I told you, target the center of the post and repeat the “umbrella in the sand” movement dry.
When you think you got to the bottom of the post, you may try and “break down” the last millimeter using an endodontic retreatment tip. I use this one, with Mtwo system.

But if you can’t feel it cave in immediately, don’t push too hard or you’ll risk on damaging everything.
As I told you, since I have a microscope, I have almost never resorted to the removal method with pliers, because it almost takes me longer than wearing away the post with ultrasound. But without a specific enlargement and coaxial light, you might, at some point, find yourself not understanding where the post is, and you might risk on damaging the root or wrecking the tooth too much. Carbon fiber posts are difficult to distinguish in the middle third of the root of very dyschromic teeth, or if you try to remove them by drilling metal ceramic crowns, which darken the the field of view. Glass posts, instead, can become difficult to distinguish in non-dyschromic teeth rehabilitated with composite material. In this case too, the challenge is to figure out where the heck the post is, after 2 or 3 mm depth in the root canal.
To figure out if you are touching the post or the dentin, you can use two little tricks. The first one is to use ultrasound without water and push quite hard towards the area where you expect the post to be. Ultrasounds in this case will sink deep, produce smoke but no noise, while if they touch the dentin, they will emit the typical “creek creek” sound that you hear in a scaling session. The second trick is to dig a little, using an endodontic probe, like a DG16 …the fiber posts generally get “defibered” in this way.
Here’s an illustrative video in which I remove a carbon fiber post.
In the endodontics course which we are going to post soon on www.masteringdentistry.dental we’ll deal with the removal of fiber posts more thoroughly, and we’ll also deal with the removal of other kinds of posts, revealing all the tricks that just experience and the use of a microscope can give you!
Stay tuned!
Stefano